6 Cannabis Cooking Tips
For as long as I can remember, Being a foodie has been as big a part of me as being a pothead. It's strange because it was only since I finished culinary school that I really began infusing my craft with cannabis oil. Working in a busy kitchen doesn't leave a lot of time for hobbies so it only makes sense for me to take what I've learned in the kitchen at work and apply it to my kitchen at home.
However, I understand a lot of people, that have taken up cooking/baking with cannabis oil as a hobby, have not been afforded the the fundamentals of cooking that will really take their goods to the next level. In this blog post, we are going to cover some basic tips to help you take your cooking abilities to the next level. There is no reason a pot brownie can't be as delicious as it is potent. The real focus for anybody, beginner to advanced, is the science behind decarboxylation and infusion. Once you understand the nuts and bolts of the process, you'll be able to understand how to isolate and improve on the flaws in your own cooking.
Remember, cooking is an on-going process and your own style is crafted through continous trial and error. Even if you don't achieve what you were looking for the first couple times, try again. Never give up! In the meantime here are 6 basic tips to help you improve on your cooking.
#1: Decarboxylate your weed in the oven
Make decarboxylation the first step before you begin any dish. A common mistake a lot of people make is throwing unactivated bud into their batter or dish. If you're not decarboxylating your bud, you're not going to get an effect for when you eat your product. It's pretty much a waste of cannabis at that point.
A lot of people know to decarboxylate their cannabis in the oven first. It's not worth anything if you don't see the point in doing this. When you throw raw weed to decarb in the slow cooker, you are increasing the risk of worsening the flavor of your oil. Not only is the temperature more difficult to control in the crock-pot, but you are also running the risk of burning the cannabinoids necessary to get you nice and stoned. Set the temp low in the oven and have more control over the decarb process. At the end of the day, what's a little extra time worth to get your product done right?
#2: Properly heating your cannabis and cannabutter.
The decarboxylation process is one that requires attention to care and detail. We'll want to focus on timing, temperature, and mixing. Here we will cover the right temperature to set your oven and how long to heat if for.
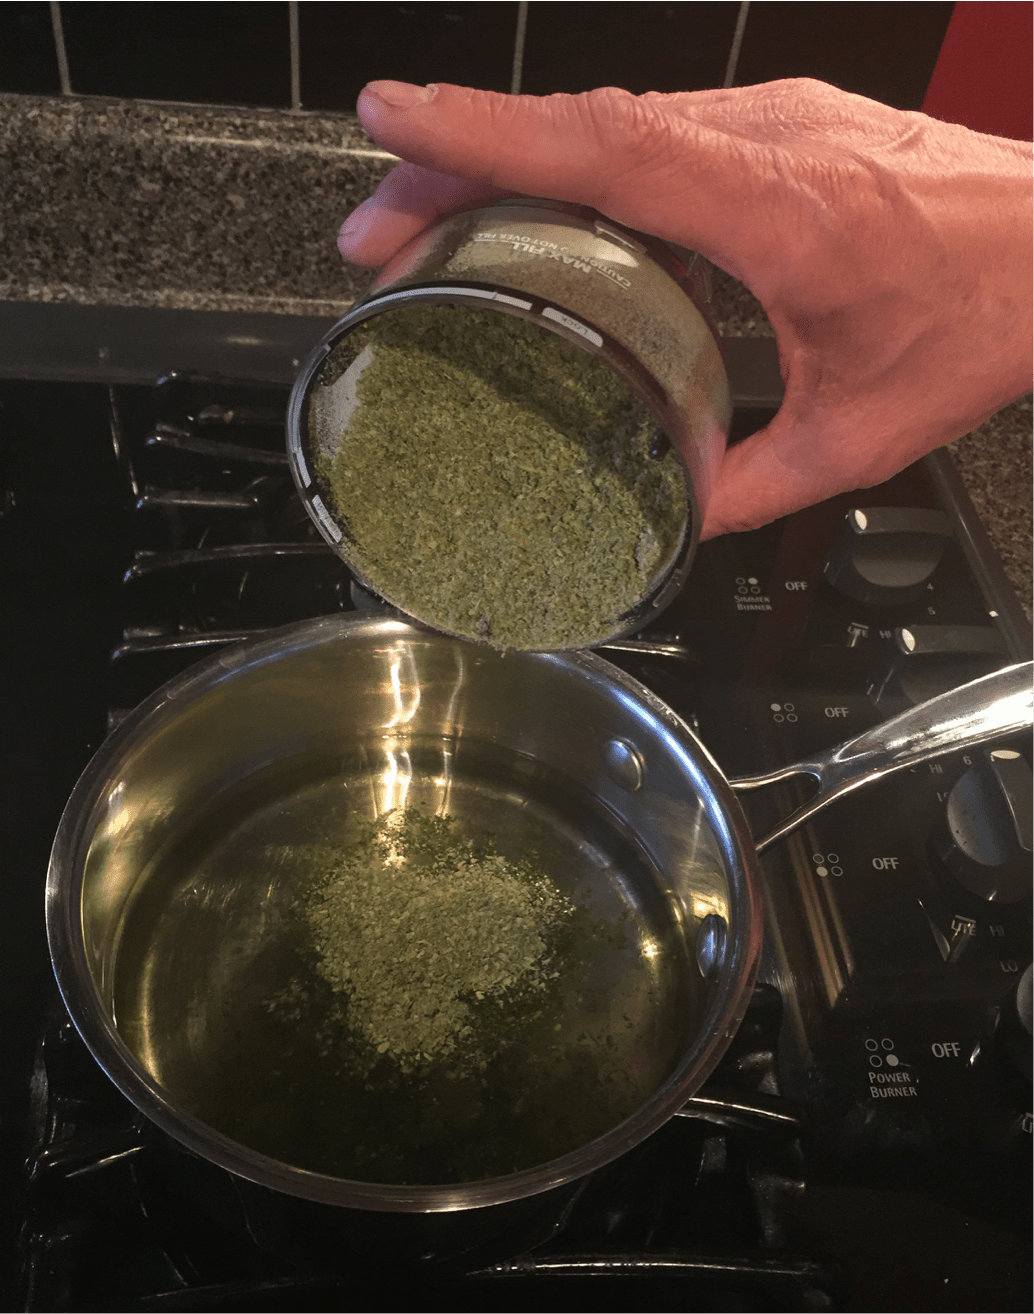
For best results, I pre-heat my oven to 245°F (120°C) and let the cannabis cook for 30-40 mins while giving it a mix every 10. For quicker results you can go 300°F (150°C) and cook for 15-18 mins while stirring every 5 However, the low and slow method is always preferred when dealing with cannibinoids.
When you're ready to move onto the slow cooker, you'll want to steep your ground bud at 150-200°F this is the low-medium setting on your slow cooker. Monitor the temperature with a thermometer and let cook for about three hours with the lid removed.
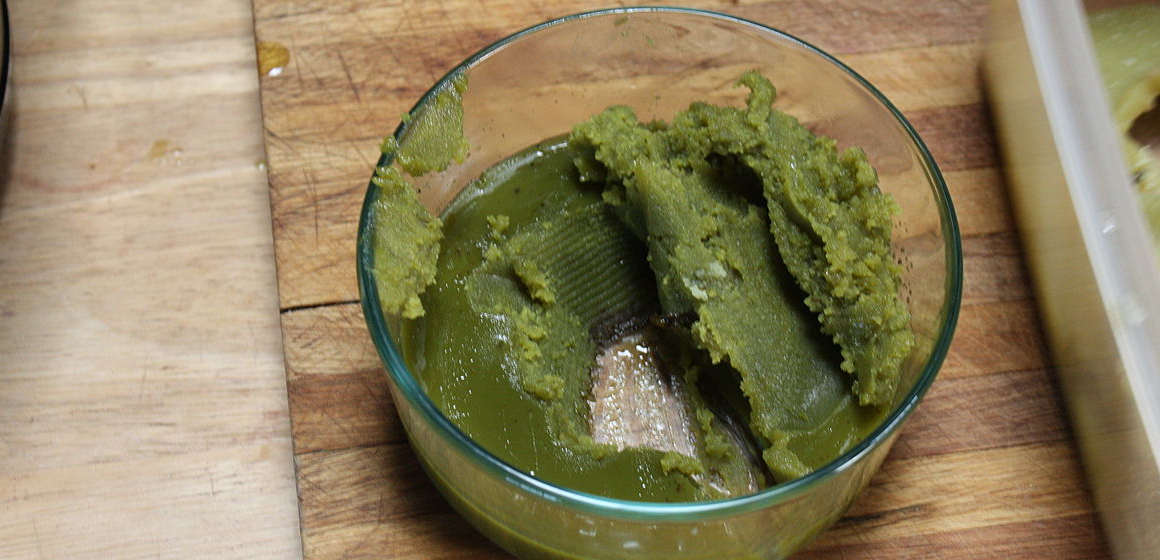
#3: Grinding by hand for coarse bud.
Typically, if you find you are getting a too much of a grassy taste in your product it is because the cannabis has been ground too fine. This happens because when you grind too fine - you are introducing chlorophyll into the oil, giving it that strong plant taste. You can avoid this by making good use of step "1.". After you have decarboxylated your cannabis properly, grind your bud using a hand grinder. Avoid, electric or coffee grinders. These will pulverize your weed. (also not great for smoking). With a coarse grind you'll allow the cannabinoids to have a better bind with the oils and fats while excluding excessive plant matter.
#4: Use a fine cloth to strain your oil.
When it comes time to strain the plant matter from your oil, it is recommended to use a cheesecloth or any other gauze like material. This will help you get an effective strain ridding your oil from excess plant material and mitigating any possible grassy taste that may occur. The rule of thumb is to let gravity do the work. Avoid impeding the straining process by squeezing or milking the cloth by hand.
#5: Proofing your oil before using it in a dish.
Nix the guessing game by taking a test sample of your oil. Your goods don't have to be left to the unknown. Don't be the person with no idea how their product is going to affect them or anyone else. A good cook is aware of what their dish has to offer.
Use a small quarter or half quarter teaspoon of your oil and take a personal test. Mix it with a beverage of your choice to gauge how you feel after an hour. Depending on your desired amount of stoned, you'll have a better idea of how to dose your batch or dish. By having an idea of what your product is able, to do you'll be better equipped to portion out your servings. Maybe divide the product into potent and not-as-potent.
#6: Stirring well is the key. It's always the key.
The rule of thumb, whether you're cooking with cannabis oil or not, is you always want to ensure a good stir. There's nothing worse than eating a couple pot brownies to your face and feeling nothing while your friend ate half and now suddenly understands the secrets of the universe. If you find yourself in this situation, you probably didn't stir well enough. When working with cannabis products, you'll want to stir like your life depends on it. A healthy, consistent stir ensures the oil is distributed properly throughout your desired product. Anything less, and you are risking an uneven distribution of cannabinoids in the batch.
Cooking shouldn't be a hassle. It's a great past-time and an invaluable skill with or without cannabis oil. Why not take the time to do something right? Impress your friends and even yourself by cooking a product that tastes good and yields the effect you want. By following these basic tips you are sure to take your cooking skills to the next level.
6 Cannabis Cooking Tips Discussions and Comments
Have something to say about this? Use the area below to discuss with the community!