Start Growing Marijuana for Under $300 (Shopping List)
In this guide we explain how to setup a professional marijuana garden for $300.00 using products available on Amazon (that means you can get started tomorrow, if you have prime!)
Setting up a new garden can be intimidating, especially for the first-time. However, there are only a finite number of things to consider, which can be broken down and explained quickly enough to provide you with enough information to make an educated decision.
Here are the basics which are non-optional:
- Pots
- Soil
- Grow Tent
- Grow Lights
- Nutrients
- Exhaust Fan
- Timer
- Hanger Clips
- Microscope / Jeweler Loupe
- Jars
The following items are considered optional, or situation dependent.
You should consider these items if you are planning out your grow:
- Extension Cord
- Carbon Filter
- Intake Fan
- Air Circulation
- ScrOG Net
- Co2
- Humidifier
- Trimming Scissors
- Drying Net
Below we will cover all of the things which you must consider, in the order in which you will need them. Items lower on the list will not be needed until you are later into the grow. If you are on a limited budget, this may help you to juggle your costs.
Indoor Grow Lights
The centerpiece of any indoor garden, your grow lights will provide your plants with the energy required to grow. The general rule of thumb for non-LED lighting was to achieve at least 50 watts per square foot.
When you are choosing your grow light, you will have a choose between modern LED lighting, or the previous industry standard, bulb lighting (MH and HPS).
Bulb Lighting (MH / HPS)
With a lower acquisition cost, and proven results - these lights remain a popular choice. While increased electricity consumption is a concern, the primary issue with this lighting option is the amount of heat generated. This heat can be enough to reduce the quality of your cannabis, if not carefully controlled - especially if you are growing inside of a tent.
To combat this, manufacturers have began to provide dimming features which are not commonly included, allowing you to operate a 600 or 1000 watt light at a much lower percentage (typically at 50%, 75%, 100% options). These options are great for early vegetative stages, and to assist with temperature control.
Another consideration is that you will need to switch the bulb from metal-halide bulb (MH) to a high-pressure sodium bulb (HPS). MH bulbs are responsible for providing blue light, which assists vegetative growth, whereas the red light supplied by HPS bulbs promote flowering. For this reason, one bulb of each is required - though they are often provided together in a lighting bundle directly from manufacturers.
LED Lights
While they carry a notably higher upfront costs, LED lights have a number of benefits which include reduced operating costs through their lower electricity usage, as well as negating the need to change light bulbs, like with MH and HPS lighting.
It's important to remember that the LED lighting market has not reached full maturity and that there are significant differences in quality between manufacturers. Many lights will fail to achieve the advertised specifications (in the form of PPFD / PAR values), and others will do more harm than good by providing useless light spectrum or even burning your plants with the addition of optic lenses to compensate for cheaper diodes.
There are budget-friendly LED lighting options which work well - but finding them can take some time, and become expensive. Our team has tested each of the LED lights which have been recommended below.
Lights for Seedlings and Clones
Despite the dimming options provided by either LED or bulb lighting, the minimum dim option is often still too powerful for use on seedlings and clones, and will burn unnecessary electricity. For both seedlings, and clones, you will want to acquire a light which has a blue light spectrum.
We recommend either the 24" or 48" SunBlaster light. There is not much of a price difference between the two - acquire the one which makes the most sense. If you expect to have more than one full tray of seedlings or clones (50), the 48" option will be more appropriate. SunBlaster also offers a seedling tray with a dome which has built-in placement for their light. By removing the need to setup and hang the light, it allows for more flexible placement of your seedling domes.
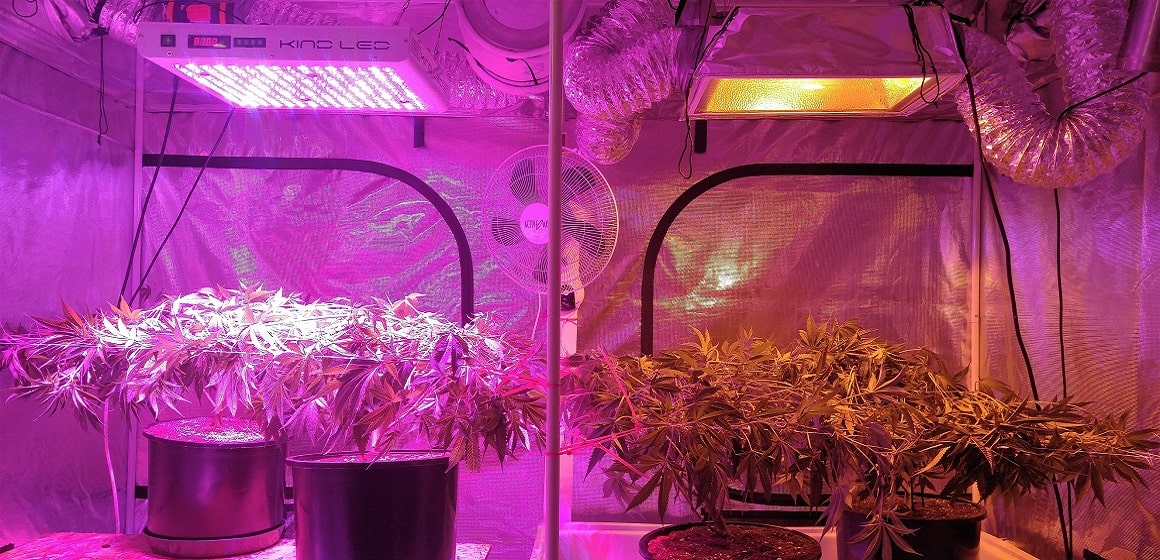
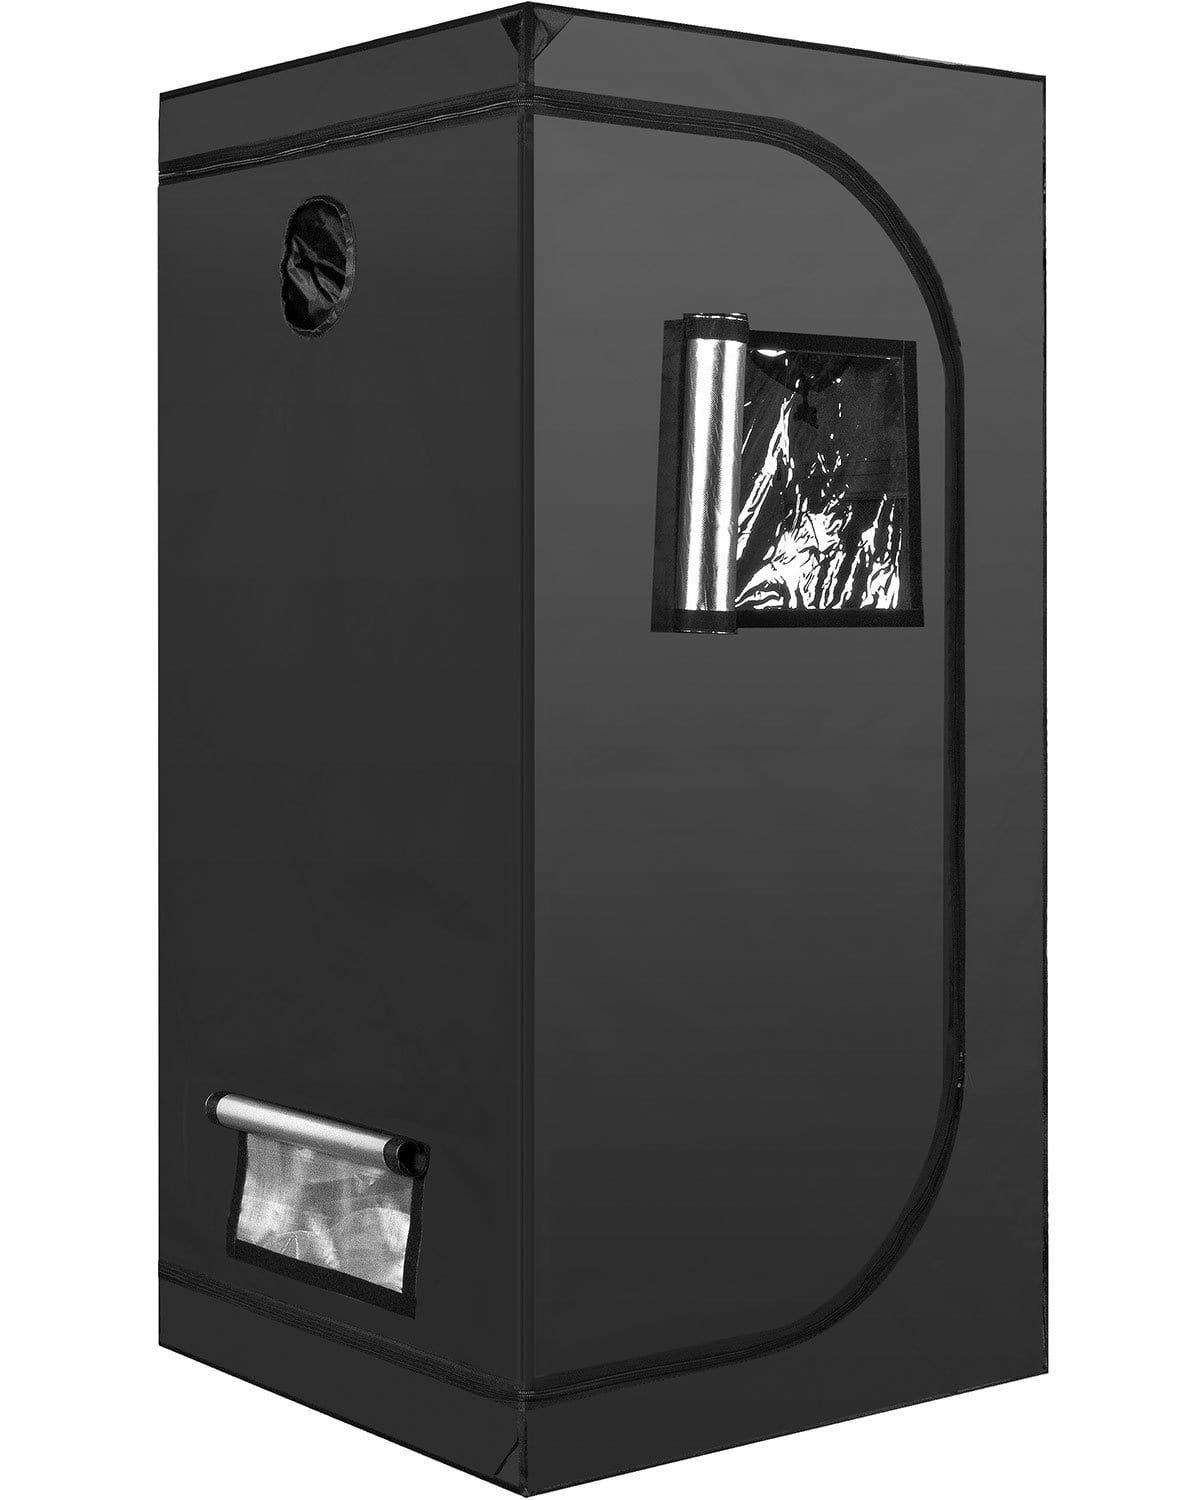
Grow Tent
If you are growing indoors, a grow tent can make the process easier by providing a controlled environment. This allows you to manage humidity and temperatures much more effectively, but does have the disadvantage of allowing heat to build up accompanied by a lack of natural airflow.
When you are purchasing a grow tent, it's very much so luck of the draw: Some are made near perfect, whereas others will be littered with pinholes which allow small amounts of light (and odor?) to escape. This occurred at both the higher end, and entry level grow tents. However, it is a minor concern only - but is something which is commonly seen in reviews.
The main difference we have identified between a high end grow tent, or an entry level tent:
- Grow Tent Zipper Quality
On cheaper grow tents, the zipper will be the weakest point - and will often get stuck on improperly trimmed tent lining, leading to a frustrating experience when opening and closing the tent - and furthering the risk of breaking the zipper. Higher quality grow tents will open much more seamlessly, and feel sturdier. - Grow Tent Frame Strength
On cheaper grow tents, the frames are not very sturdy, and will barely stay standing until the grow tent fabric has fully surrounded it during setup. Unfortunately the higher-end grow tents we have access to were only slightly better in this regard.
For first-time growers or small grows, this should not pose an issue, most being rated for 50lb. However, if you are trying to fit two full sized lights into a single tent - the frames will leave something to be desired.
Finally, if possible, you should get a grow tent which has multiple full-sized access points. It will make managing your garden much easier, and is almost a necessity for properly inspecting your plants when using the ScrOG technique.
Pro-tip: When choosing your grow tent size, consider the total amount of square footage.
- 2x2 (4square feet)
- 2x4 (8 square feet)
- 3x3 (9 square feet)
- 4x4 (16 square feet)
- 5x5 (25 square feet)
For an entry level grow tent which covers all of the bases (and conveniently, the lowest price point), take a look at these grow tents found below:

Exhaust Fans and Temperature Control
Essential for preventing a multitude of issues,exhaust fans are used to control temperature and humidity, as well as assist with air flow. When you are looking for to choose which fan to get, you should consider a few key details:
- CFM / Air Flow
This will let you know how powerful the fan is. A higher CFM means more air is being pushed around by the fan. Keep in mind that duct length, and the addition of a carbon filter will reduce the maximum CFM. - Speed Controller
For smaller spaces, you may not require the fan to run full-speed. Save some electricity and reduce the noise by lowering the speed on the controller. As a bonus, the equipment should last longer, too. - Noise (decibels)
While some growers may be able to elegantly fit their fan and filter inside of a grow tent, it is not always possible to contain the fan. For this reason, purchasing a fan with a lower noise-rating will help with comfort, and assist with stealth grows. Tip: A larger fan which is running at a lower speed using the controller, will be quieter than a smaller fan running at the same speed. - Fan Size
Most grow tents are fitted with 4" and 6" ducting holes, matching the most common fan sizes available. There are a number of attachments which will help to change the size of your ducting if required.
If you are in an especially hot environment, you may need to add a second fan to be used as an intake. This fan should run at a lower speed/CFM, which will keep the grow tent under negative pressure, preventing any odors from escaping.
Note: Make sure you grab some ducting - which are not commonly included. 25' or 8' ducting is available, but remember the longer the ducting, the lower your fan power will become. Keep it as short as possible, and without bends!
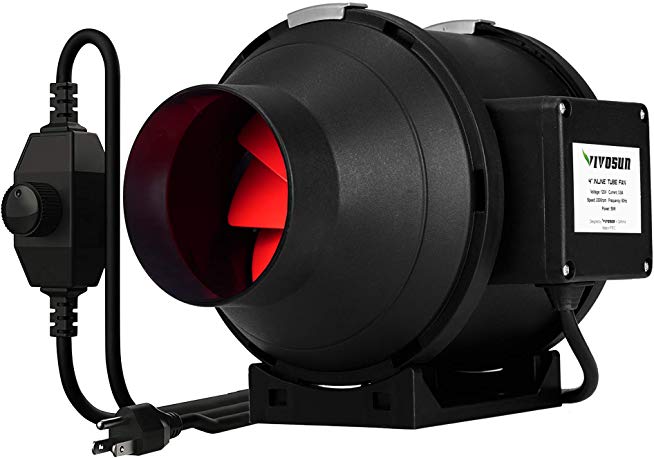
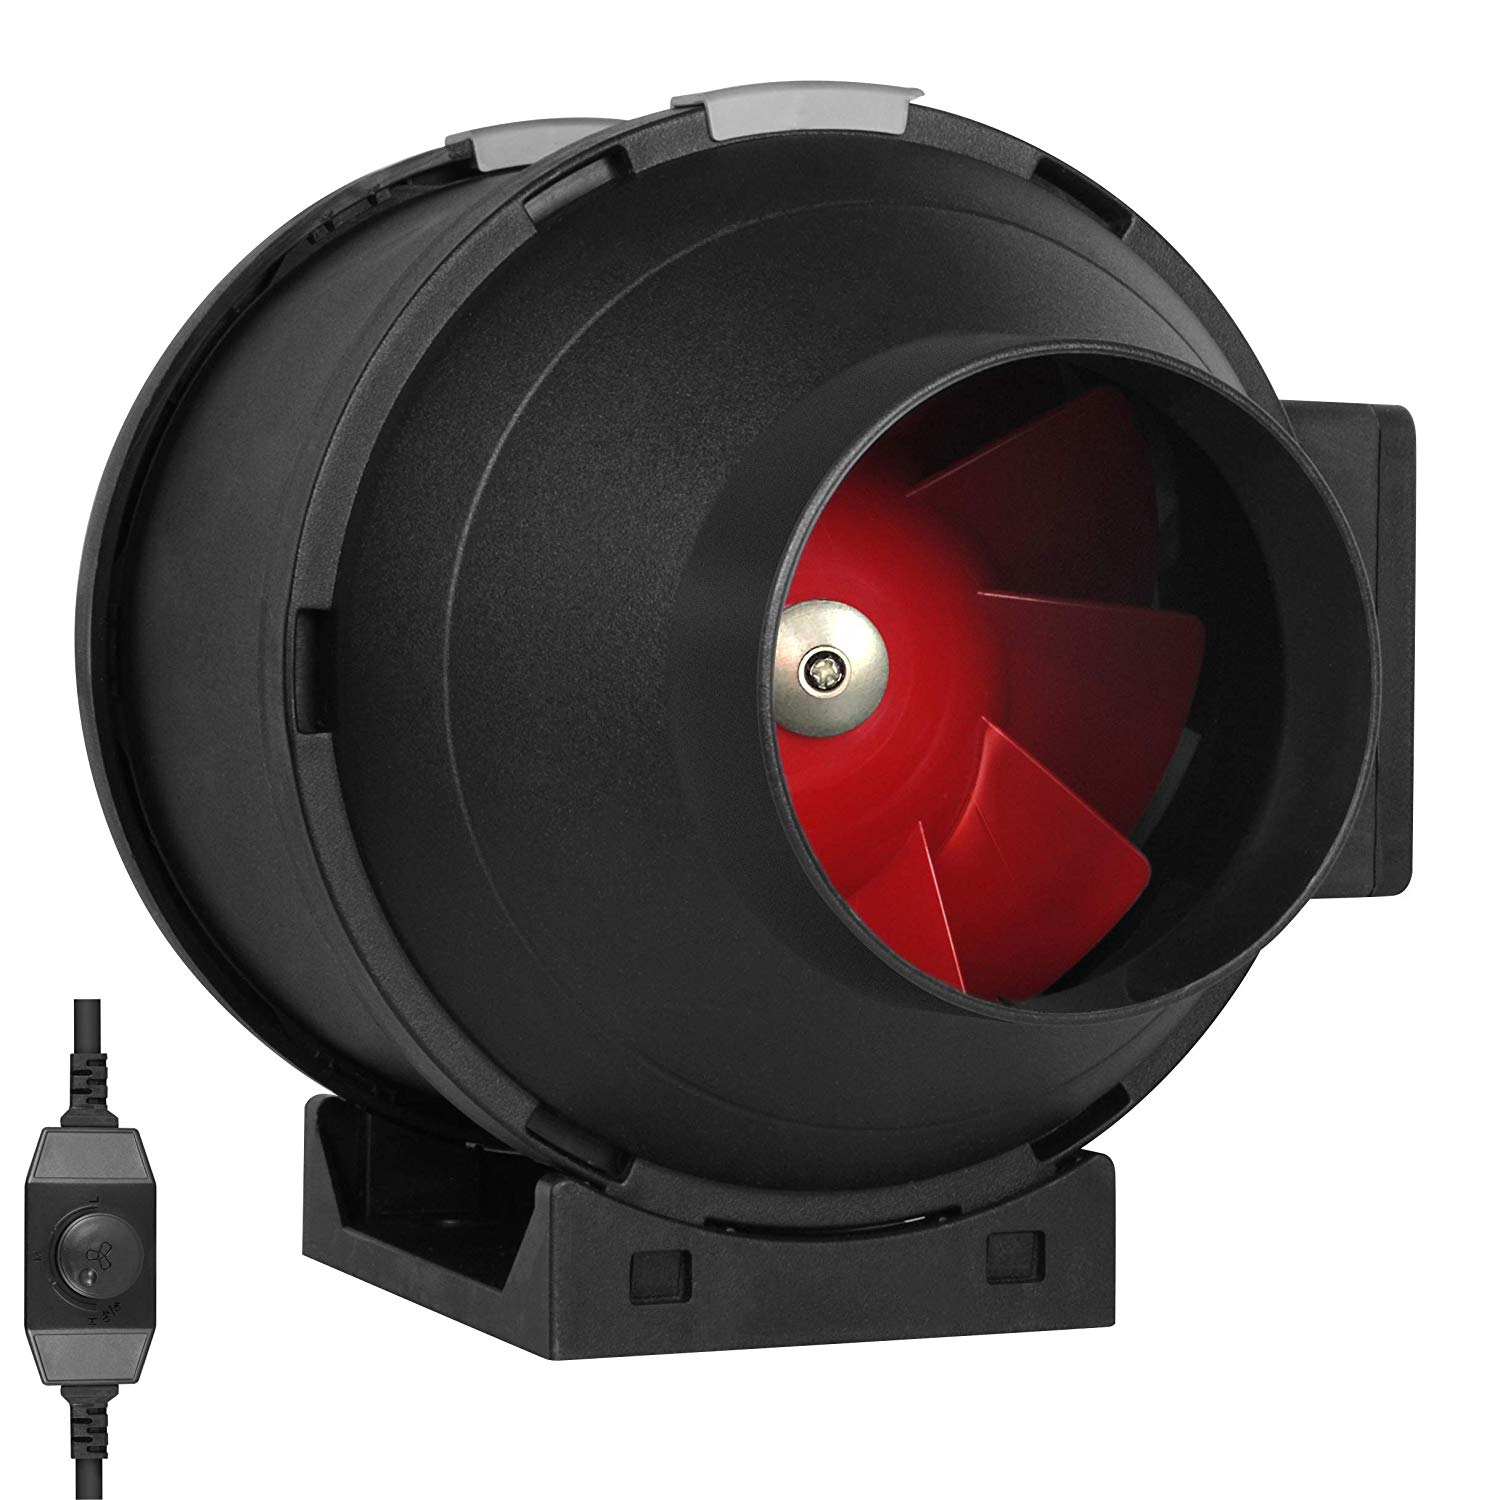
For fans, we have only a single company to recommend: Vivosun. We have been running a dozen of these for nearly a year without any issues. In the past, we have seen reduced speed and increased noise occurring with prior purchases. Vivosun offers both a 4" and 6" fan option.
Recently they have revamped their fan design, which although has slightly reduced CFM, runs much quieter. For those who have concerns about noise, we would recommend paying the few extra dollars for this version.
Carbon Filter for Odor Control
Carbon filters are built out of activated charcoal and connected to ducting or directly to a fan, and used to remove odors from the grow space. Filters will need to be replaced every few grow cycles, to continue operating efficiently. Pro-tip: Some filters are dual ended and can be reversed to squeeze more life out it!
Many marijuana strains will only really begin to emit the signature odor around week 5+ of flowering. Until that time, it will smell much like any other garden. This means that you may not immediately need a filter to begin growing, under most circumstances. Or, if you have a filter - that it can be removed until flowering, to increase it's life span and increase your fan CFM.
To prevent bottle-necking your fan, you should use a carbon filter that is the same size as your fan. While an adapter can be used, it will reduce efficiency of both the fan and filter.
Manufacturers are not heavily differentiated in this area: it should not be necessary to spend a great deal of time deciding on which filter to purchase.
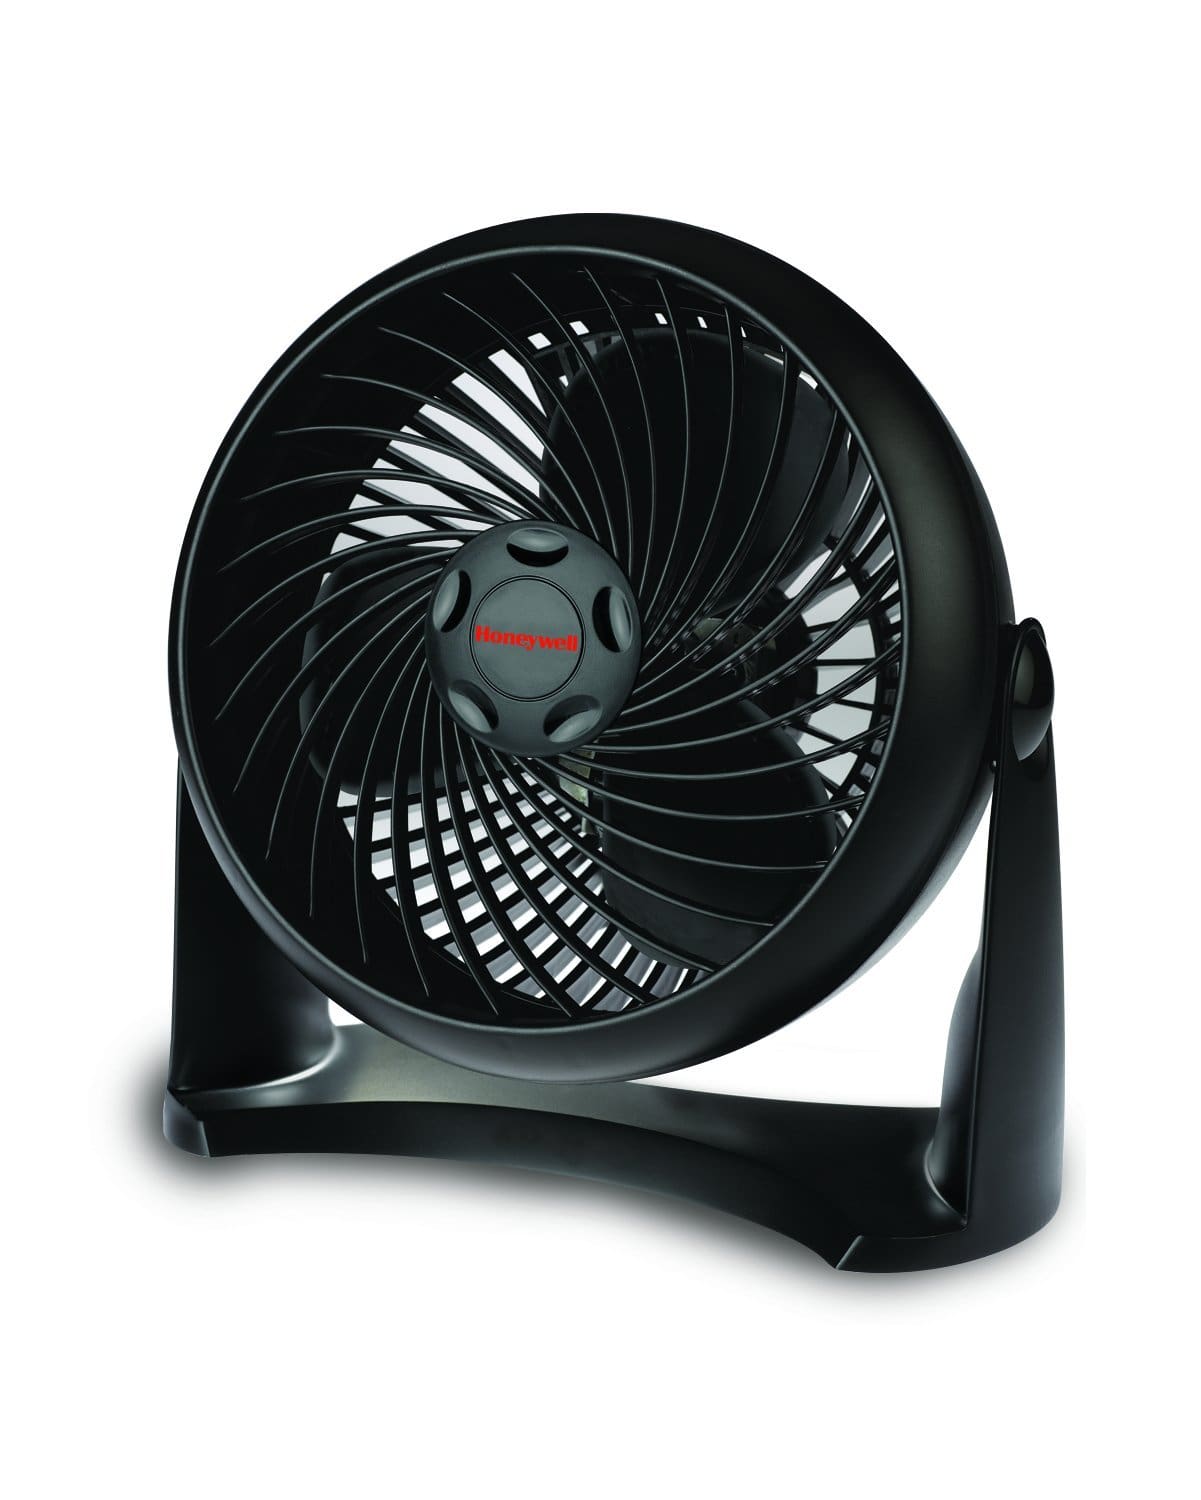
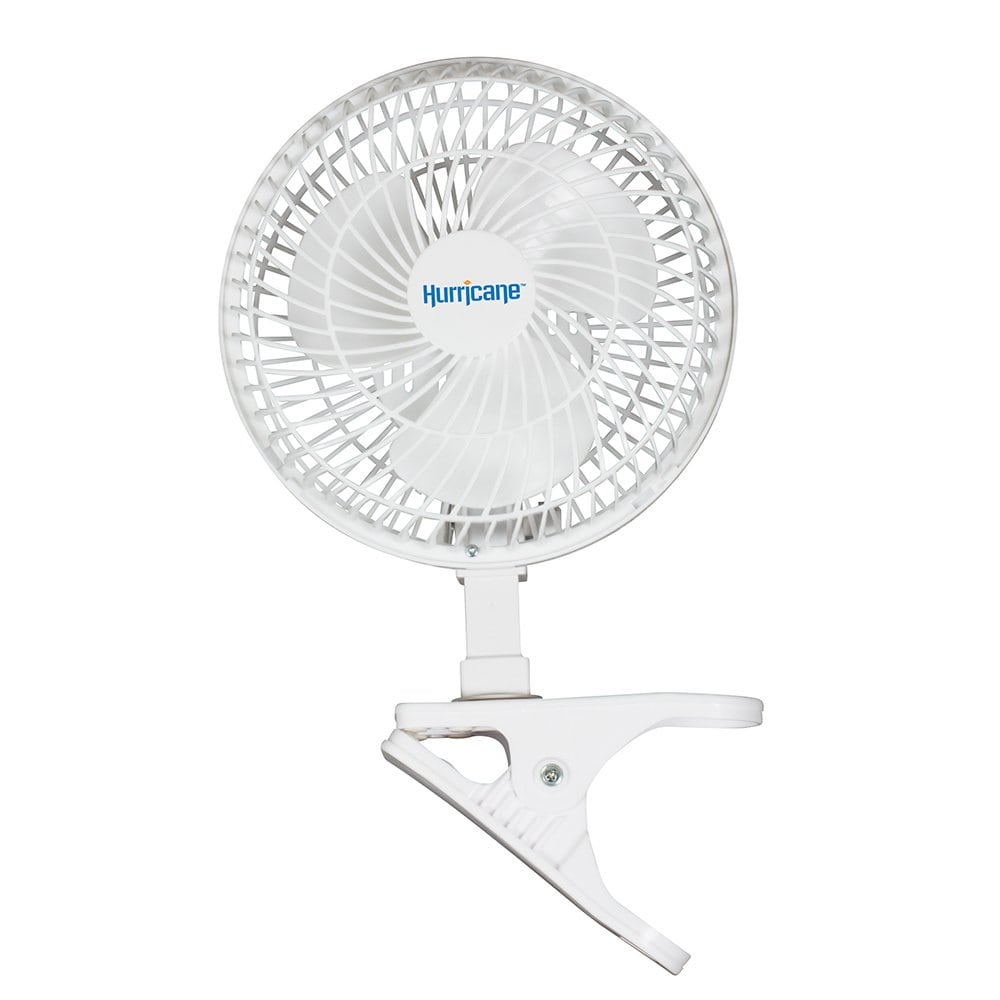
Air Circulation
Despite having an exhaust fan, you will still need additional airflow to help your cannabis plants grow effectively and without problems. Proper airflow is critical for any high performing garden, and is as simple as setting up a few fans.
The fans should not be blowing directly onto the plants in an aggresive manner. A light breeze is ideal, and if the fan can oscillate that's even better. We recommend the careful positioning of a few 6" fans, for smaller grow tents. Larger grow tents may benefit from having a full-sized box fan.
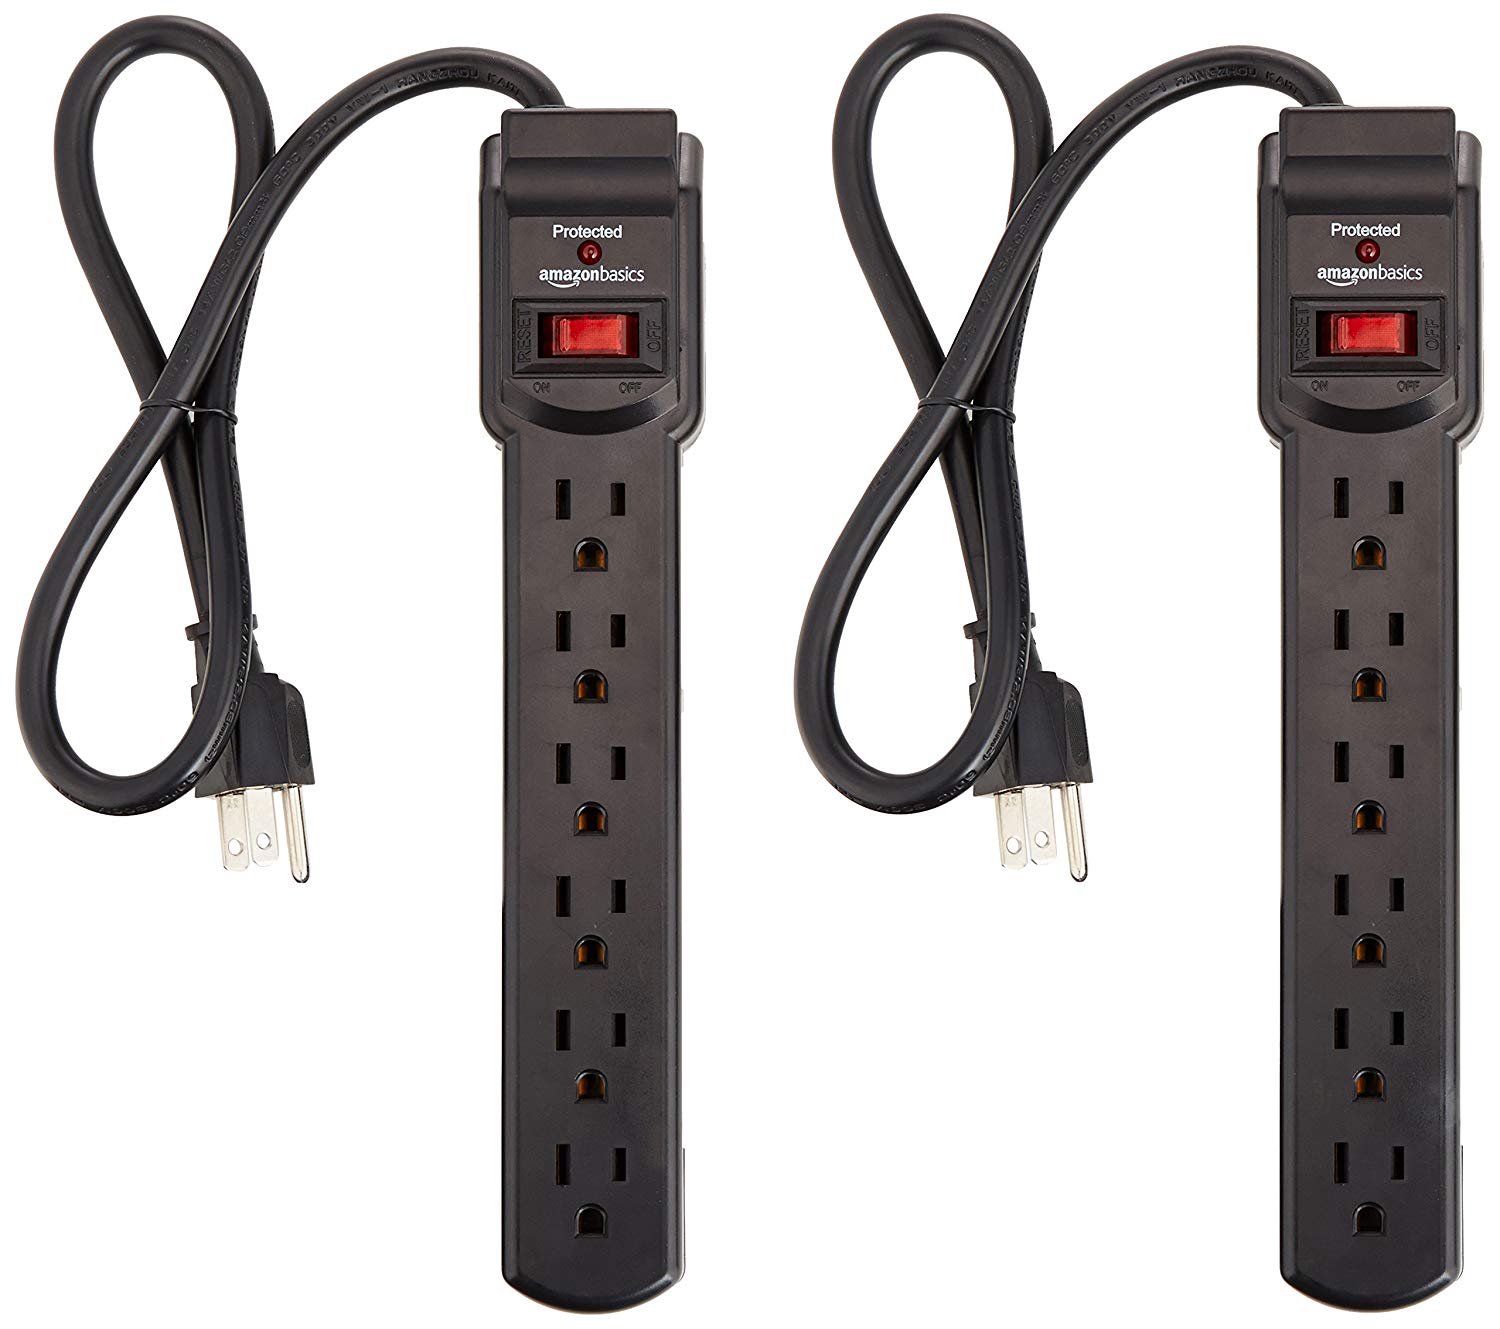
Extension Cords
Depending on your grow setup, you're going to need extension cords sooner or later. This can be to access additional outlets, or to extend the reach of power wires: many of the wire cables included in modern LED are very short, and can barely reach outside of the tent.
Amazon's brand offers a power cord which will protect your equipment without hurting your wallet. Plus, it comes in a two pack so you will have one for later (when you inevitably need it at the last minute)!
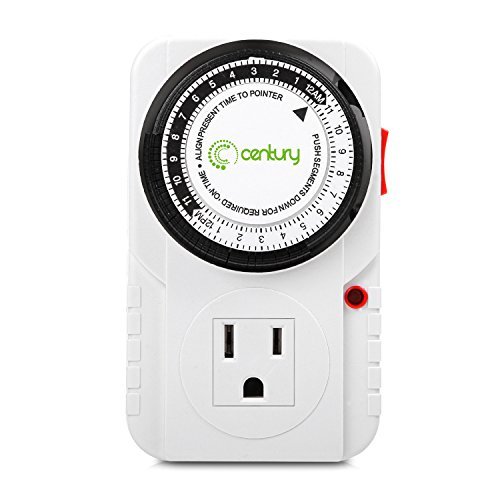
Timers
Timers are responsible for scheduling the light cycle, enabling the growing area to go dark for a set period of time, without manual intervention. While your lights should be connected to the timer, additional timers can be used to configure the exhaust fan to run only periodically, as example - reducing wear and tear as well as electricity consumption.
There are many types of timers available, however the more advanced timers always seem to fail. We recommend sticking with a simple mechanical timer which feature a standard configuration. The only other thing to consider when buying a timer for growing marijuana, is to ensure the timer has a three pronged outlet. There are cheaper timers which have only two prongs, which won't be any good for your equipment or powerbars.
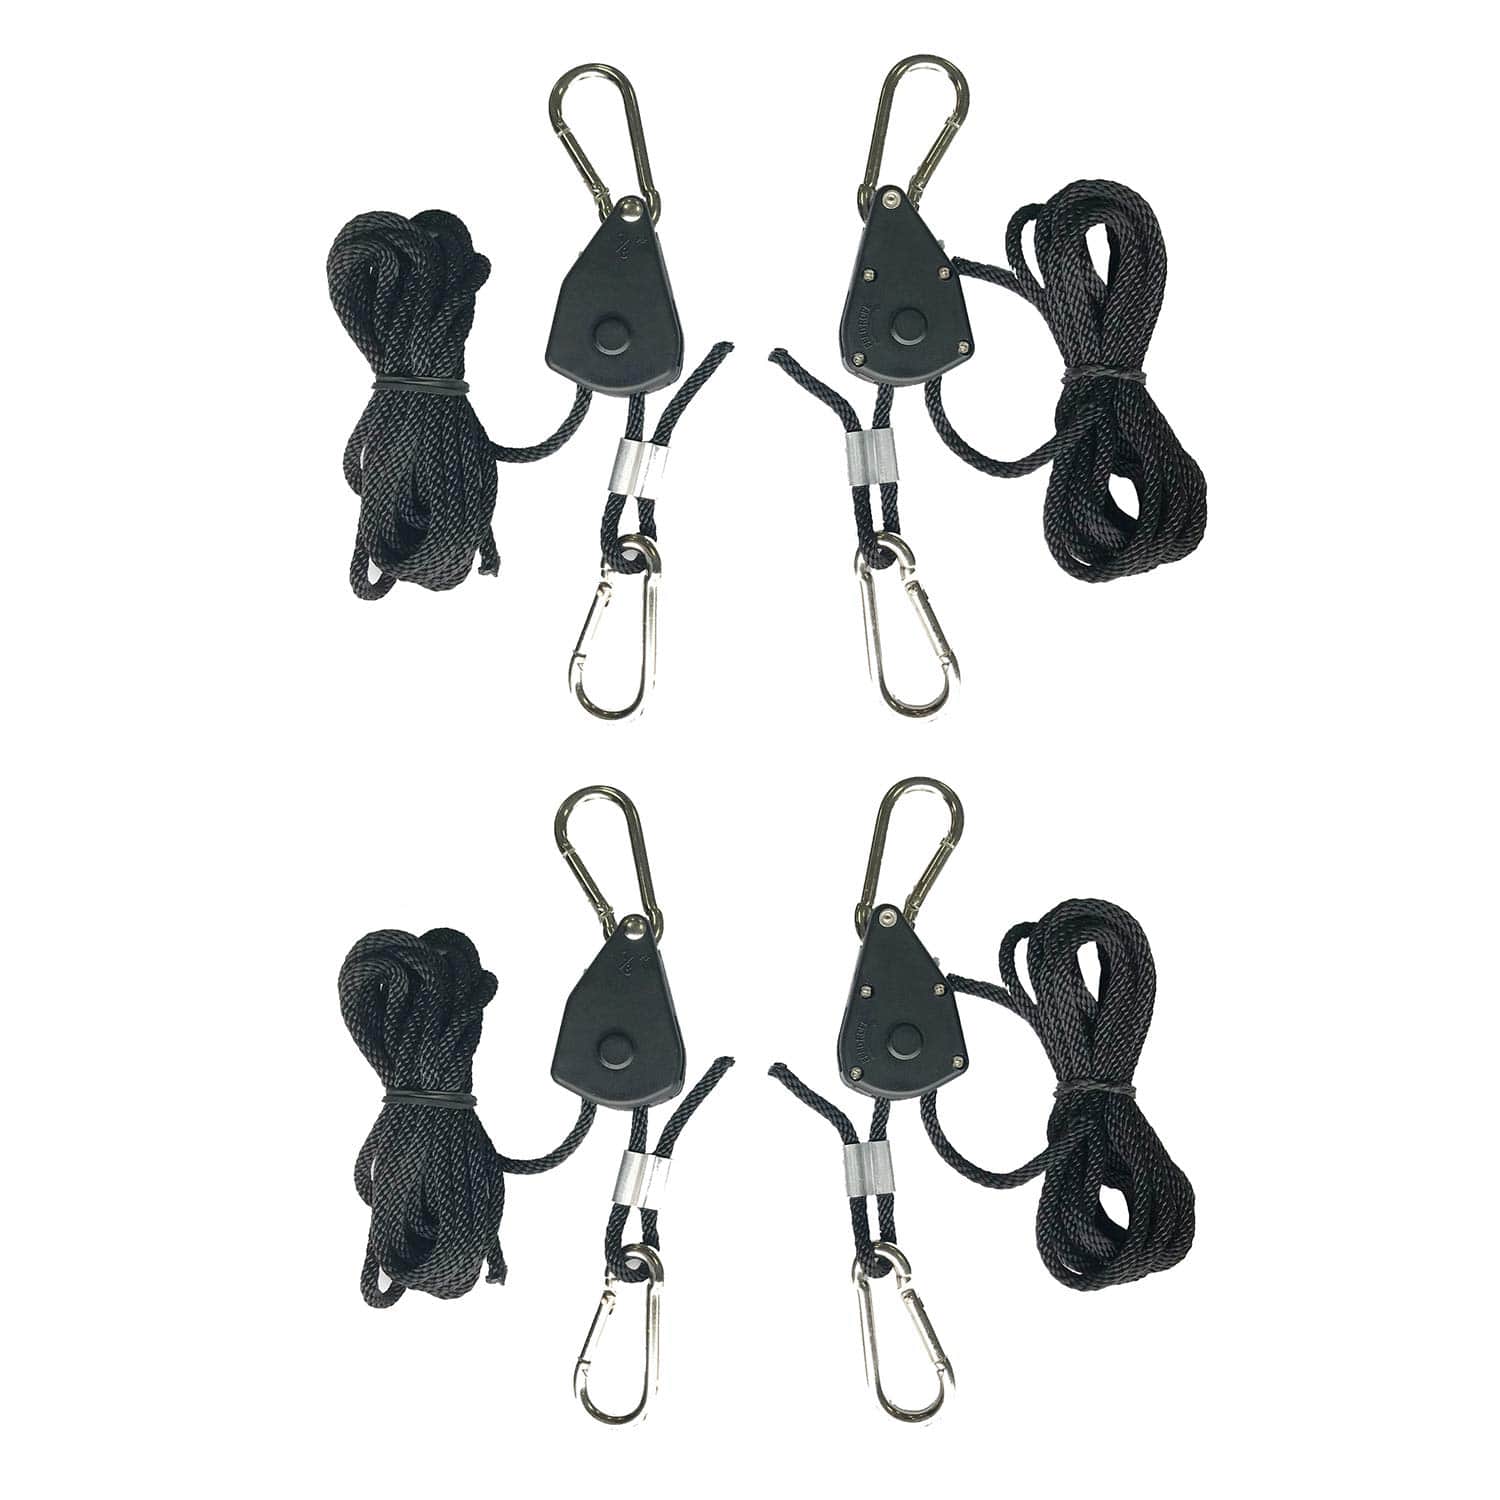
Hanger Clips
While some lights will include some form of hangers, they may not be able to be immediately setup without additional ratchets. Light hangers can be used in addition to the light-provided hangers, or act as a replacement for even more flexibility.
By using these hangers you can mount the light directly to the ceiling or top of the grow tent - increased the amount of vertical grow space available, before your plants get burned by lights.
These are also handy for securing fans, and other items. If you are planning a larger grow, a 12-pack is a great investment, and will save you from being "one hanger short" later on. Otherwise, a simple two-pack will work for most users.
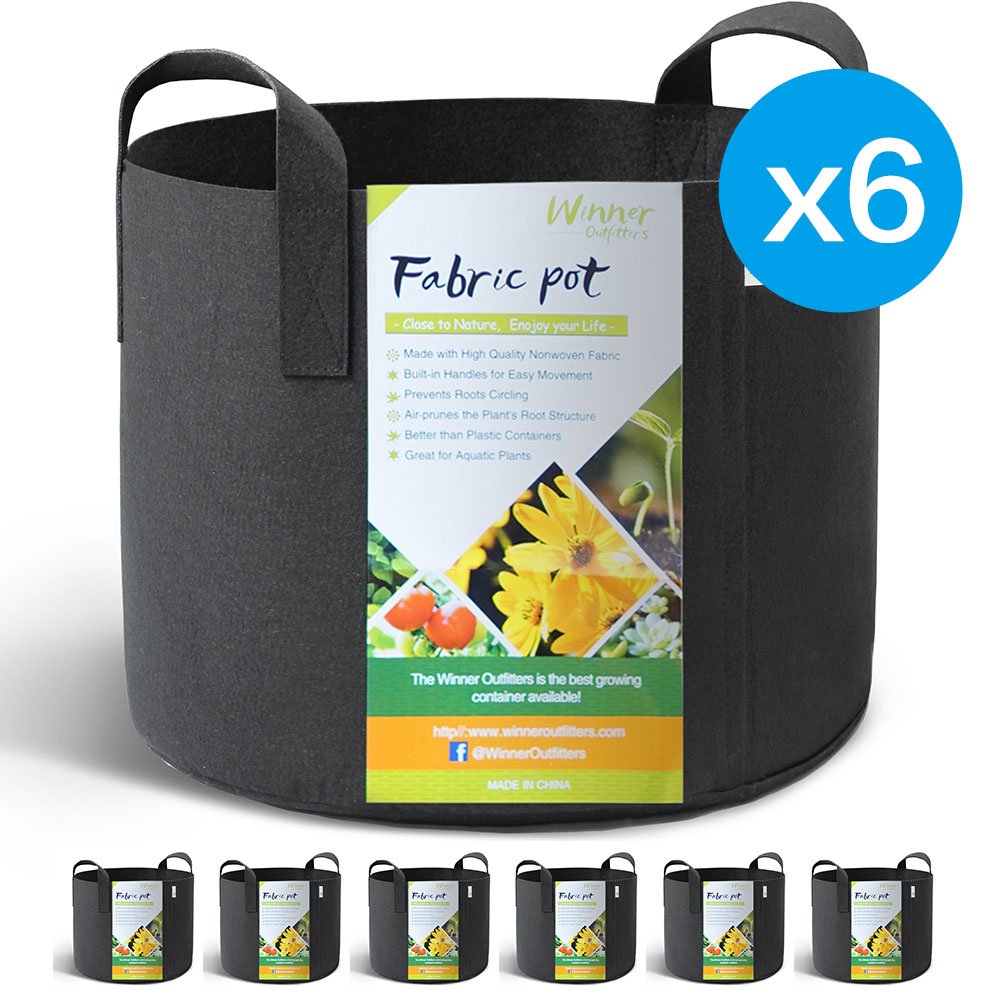
Pots
While any gardening pot can work, there are superior products available at reasonable cost. We recommend the pots made out of fabric, which allow for increased airflow and natural air pruning of the roots. These properties will help to prevent the plant from becoming root bound and enable stress-free transplanting. Fabric pots are also much better than conventional pots for preventing moisture build up.
These fabric pots are only a few dollars each, so we have not looked back since switching. The manufacturers which offer pots with a detachable seam may help with the cleaning and washing process, but so far we have not needed to undo any of them.
For ideal cannabis growth, cannabis should be cultivated in an appropriate size of pot and then transplanted into a larger one as necessary. This can increase the flexibility of organizing and setting up growing areas for staggered harvests, too.
Growing Medium / Soil or Coco
Beginners will be better suited to start with soil, which is more forgiving and does not require as frequent watering or as many initial nutrients. Visiting your local hydroponic store is the best source of quality growing mediums. While you can obtain potting soil from a hardware store, it will not be the most suitable medium for Cannabis.
You can calculate how much soil you will need by multiplying your number of plants by the pot-size. Note: Keep in mind that most mediums are sold in litres, and the pots are measured in gallons (just under 4 litres).
ScrOG Net
Used for a technique called screen of green, a ScrOG net acts as a net for you to weave and spread out the cannabis nodes as they grow. This allows you to create an even canopy which takes up the entire square footage of your grow tent. With this technique, you can fill as much space as you need with a single plant - shaping it to fill any excess.
Even for non-scrog grows, the net is still useful for helping to support large colas and bud sites by providing them with something safely lean onto.
Nutrients
Regardless of whether you are using soil or another medium such as coco, nutrients play an important role. If you are using soil, you won't need nutrients right away as the soil will have everything the plant needs for the first few weeks. In coco, there won't be any immediate nutrients available, and supplementation should occur immediately.
There are dozens of companies to choose from, including brands which offer entirely organic products to prevent any undesirables from building up within the plant matter. We've worked to catalogue over 1400 nutrients, including feeding schedules. You can take a look at reviews and ratings in our nutrient company section.
CO2
While Co2 supplementation is hard to properly achieve for the amateur grower, there are products available that are a modest investment to ensure your plants never become Co2 deprived. For proper Co2 usage, a sealed environment should be used. While technically a grow tent is sealed, the use of an exhaust fan will lead to the generated Co2 being leaked outside of the tent.
Exhale365: This is a product which contains fungus and a medium. Once activated, the fungus will begin to grow and emit a steady supply of Co2 for up to one year. From our measurements, this increased our Co2 by approximately 100pm within a 4x4 grow tent despite a 420 CFM exhaust.
TNB Naural Co2 Enhancer: This is an instantaneous product where once activated, will begin producing Co2 immediately. For best results, it should be shaken daily - which will provide a short increase of Co2 production. These provided much greater co2 production than fungus, but eventually stopped producing any Co2 after about 15 days.
Do It Yourself: You can make your own Co2 solution using yeast and sugar, and a few special bottle caps. This is the cheapest solution, and can produce much greater Co2 than alternative options. For larger grows, a 5 gallon bottle can be jury-rigged in substitute of a 2L bottle.
Humidifier
Used to maintain proper humidity levels when accompanied by an exhaust fan, the humidifier will help to create an optimal environment for plant growth. When choosing a humidifier, you should look for an appropriate tank size - usually a larger tank size will be better to prevent frequent refilling. You should also look for a humidifier which has a controller to manage the speed of humidification.
Another important aspect to consider when choosing a humidifier is the shape and form. You will want to purchase one which is easy to clean, as you will need to frequently sterilize your humidifier in order to prevent bacteria from building up. We've wrote a guide on how to safely use a humidifier for growing marijuana.
Microscope / How to View Trichomes
During the late stages of flowering, you will want to be reviewing the trichomes covering the buds. During the last stages of the plant's life, the trichomes will go from translucent to cloudy, to amber. The grower will harvest based on their preferences - however, the trichomes are much too small to properly see without magnification.
While any jeweler loupe will work, we recommend a 60x with a built-in light. We have tried many others, and it began both a frustrating and futile process where we could not properly see what we needed to. The same could be said for budget-level Wifi or smartphone magnification tools - which ultimately could not deliver the clarity which is required to view the trichomes.
Trimming Scissors
Using traditional scissors for trimming will lead to a low quality trim, and increase the difficulty and associated hand pain. Having a proper pair of trimming shears will allow you to perform a high quality trim using the precision needle nose tips. Most trimming scissors will also have padded handles, and spring-loaded feature to ease the load on your hands.
To make life easier, we recommend getting a proper pair of trimming scissors. Better, get a two pack so you can have a friend help!
Drying Net
When you have harvested your plants, you will need somewhere to hang the buds to dry. While the old-school method was to use close-hangers and string to hang the buds, a drying net will greatly simplify the process without sacrificing the drying quality. Due to the material of the net, the buds are still able to be dried from 360 degrees, and the net itself won't absorb any moisture allowing for a proper and slow dry.
While most drying nets will work just fine, if you are growing different strains or multiple plants, you might like to get them separate during the drying process, so that you can properly weigh them later. You can find drying nets with up to eight large compartments, and they are ready to be hanged. The addition of a hanger clip mentioned earlier, will allow more flexible attaching of the dry net.
Jars
When you are finished drying your cannabis, you will need a place to store it, and more importantly to allow it to cure. Glass jars are perfect for this as long as they are air-tight. Because of this, standard mason jars are commonly used as an accessible solution.
North Americans can often find suitable jars are discount or dollar stores much cheaper than what is available online. Just be sure to test that they are air-tight, by submerging them under water and looking for air-bubbles. Plastic containers should be avoided due to the possibility of it reacting with the contents and altering the taste and smell.
Start Growing Marijuana for Under $300 (Shopping List) Discussions and Comments
Have something to say about this? Use the area below to discuss with the community!